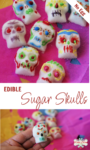
Today, I want to show you how to make edible sugar skulls without meringue powder or eggs. This is an easy and fun activity to enjoy with your kids to celebrate Día de los Muertos. Let’s start!

Now that the Day of the Dead or Día de Muertos has become so popular outside of Mexico, whether from Mexicans spreading their love for it, or tourists visiting Mexico and sharing their experience or even the influence of the lovely film, Coco, sugar skulls, one of the most distinctive symbols of the holiday can be found everywhere, in every form and every size.
They’re in paintings, on dishes, pots, lanterns, shirts, you name it.
But the sugar skulls I’ve known all my life were those made to adorn ofrendas in Mexico during Day of the Dead festivities.
RELATED POST: Day of the Dead Focaccia Style Cheese Bread
Learn about the Ofrenda elements and their meaning. Get inspiration to create your Ofrenda at home this Day of the Dead.
What is Day of the Dead?
If you’re new to Day of the Dead (Día de los Muertos), the first thing to know is it’s a beautiful holiday, a celebration of life, that we share with our family members from October 28th to November 2nd, being the most popular days, November 1st, all saints’ day and November 2nd all souls’ day.
Day of the Dead shouldn’t be confused with Halloween.
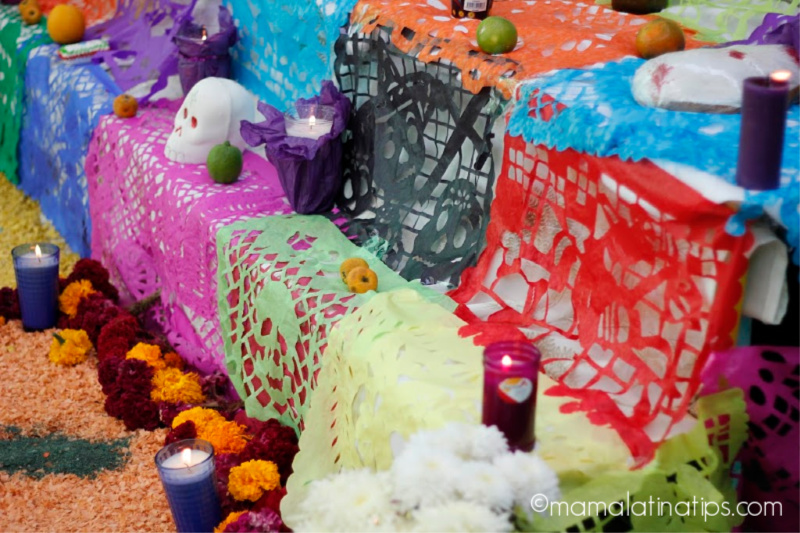
In Mexico, families believe their loved ones who’ve passed come to visit once a year on Day of the Dead. Families, schools, churches and stores build colorful ofrendas to receive them.
These ofrendas include pictures of loved ones and some of their favorite things like food, drinks, games and personal items.
In addition, candles, Mexican marigolds, papel picado and, of course, small sugar skulls, or calaveritas de azúcar, as we call them in México, are often included as well.
These small skulls or calaveritas often have the names of loved ones written with royal icing on their foreheads.
RELATED POST: 7 Day of the Dead Activities to Do with Kids
What is the Meaning of Sugar Skulls?
According to the Mexican government’s website as well as Mexico desconocido, the Mexican sugar skull originated in the mesoamerican culture, and represents a departed soul.
Its purpose is to remind us of the inevitable passing from life to death and that the dead are always among us.
As I mentioned before, sometimes you see the name of loved ones on the forehead of a sugar skull. But, in Mexico, families also sometimes buy or make sugar skulls with the names of living people on them.
In this case, it is meant to remind us of our inevitable destiny.

RELATED POST: The Flowers of Day of the Dead
Can you eat sugar skulls?
Most traditional sugar skulls are made with non-edible decorations, and some of them are made with raw egg whites, so in that case, it is not recommended.
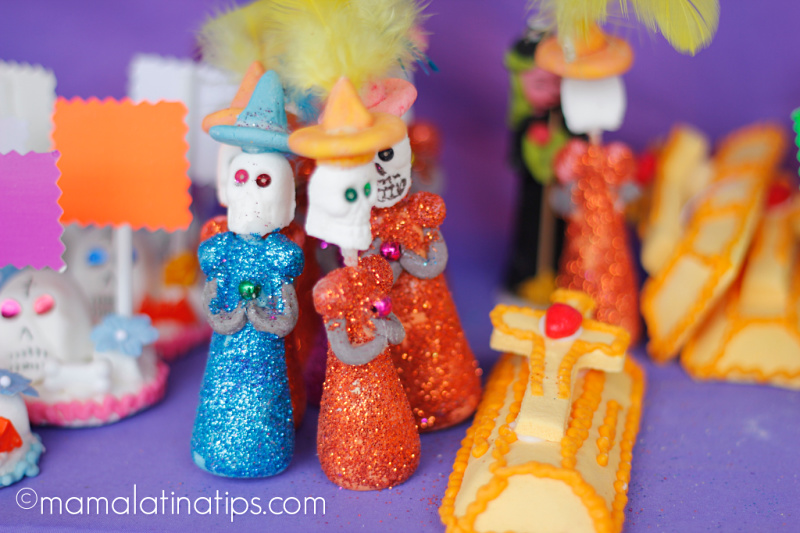
There are other kinds of calaveritas called “alfeñiques,” (photo below) made in the State of Guanajuato and the city of Toluca in Estado de México, among other places, which are colorful skulls and skeletons made with a sugar paste. These are also not recommended to eat.
However, with my recipe, these sugar skulls are completely edible, as long as you use edible decorations, too. That makes it a fun activity to do with the kids this time of year.
This post may contain affiliate links to Amazon and/or other stores, which we add to save you time looking for things you may need. If you use these links and make a purchase, we may earn a commission at no extra cost to you. For more information, please read our privacy policy.
What do you need?
- White granulated sugar & water – These are the two main ingredients for this easy recipe.
- Flavoring – You can add vanilla, lemon, almond or other extract of your choice. (Optional)
- Decorative items – Please make sure they have 100% edible ingredients. Look for icing tubes in bright colors.
- Baking sheet and foil or parchment paper.
- Skull mold – more about the mold below.
Day of the Dead Skull Molds
You can find them in different sizes, from large sugar skulls to small ones. I prefer to use the smaller sugar skulls because those are the perfect edible portions.
Look for them at craft stores, supermarkets, or Dollar Tree stores. I think I found mine there.
Don’t expect them to be labeled for the Day of the Dead; mine wasn’t. As long as you see the shape of a skull, it will work once you add all the decorative elements.
You can also find them online at Artelexia, or Amazon. Please ensure the mold material is not toxic, as we will eat the skulls.
How to Store Them
You can definitely use them to decorate your ofrenda if you like, but these white sugar skulls are made to be eaten. Once they are completely cooled, please place them in an airtight container in a dry place and eat them within a month.
If you decide to make these edible sugar skulls, be sure to snap a photo and share it with us on social media using the #mamalatinatipsrecipes hashtag. I’d love to see it and have a chance to share it as well. Here’s the recipe.
Easy and Edible Sugar Skull Recipe
Makes 10 x 1 1/2-inch mini skulls
Prep time 2 minutes – Start to finish: 55 minutes (including 30 minutes resting time, but not including decorations)
Ingredients
- 1/2 cup of sugar
- 1 teaspoon of water
- 1/8 teaspoon extract of your preference, like vanilla, lemon, almond, etc
- Writing icing tubes in several colors
- Other edible decoration items
Utensils
- Medium bowl
- Measuring cups
- Measuring spoons
- 1 skulls mold
- 1 baking sheet
- Aluminum foil or parchment paper
- Toothpicks
Process
Pre-heat oven to 200 degrees F (approx 95 degrees C). Cover the baking sheet with aluminum foil or parchment paper.
In a bowl, combine the granulated sugar, water and extract of your choice. Using your fingers, combine everything really well until it feels like slightly wet sand.
Take the skull mold and pack the granulated white sugar mixture really well, pushing with your fingers until every space of the mold is filled up. Turn them over carefully on the aluminum foil-prepared baking sheet, and bake for 15 minutes.
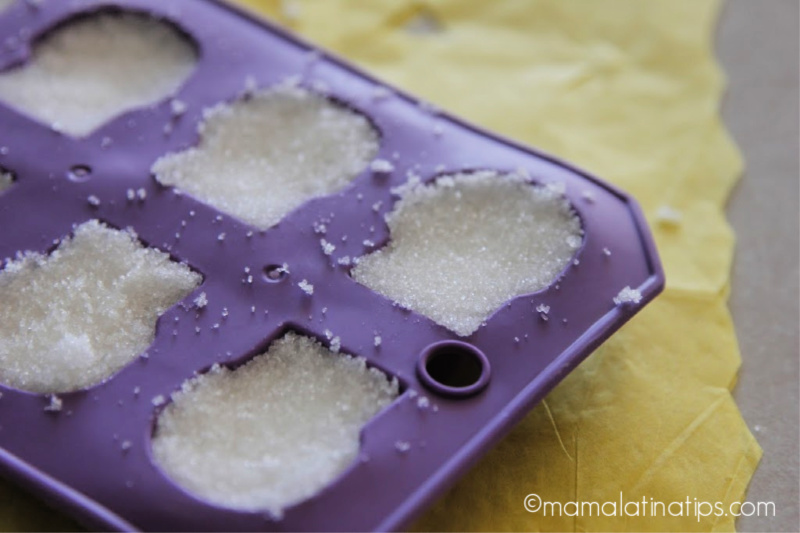
Take them out of the oven and let them cool down, approx 30 minutes.
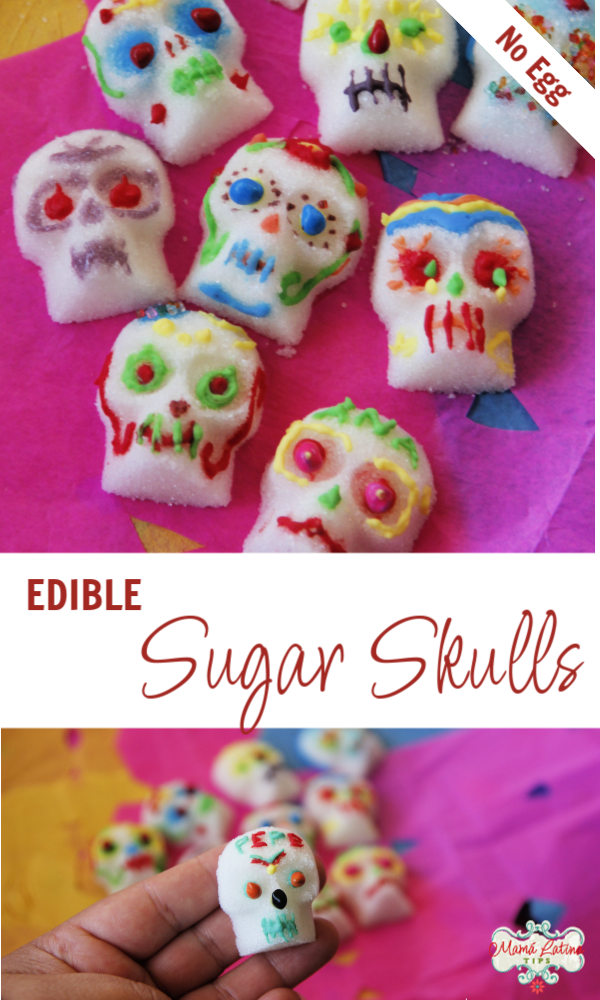
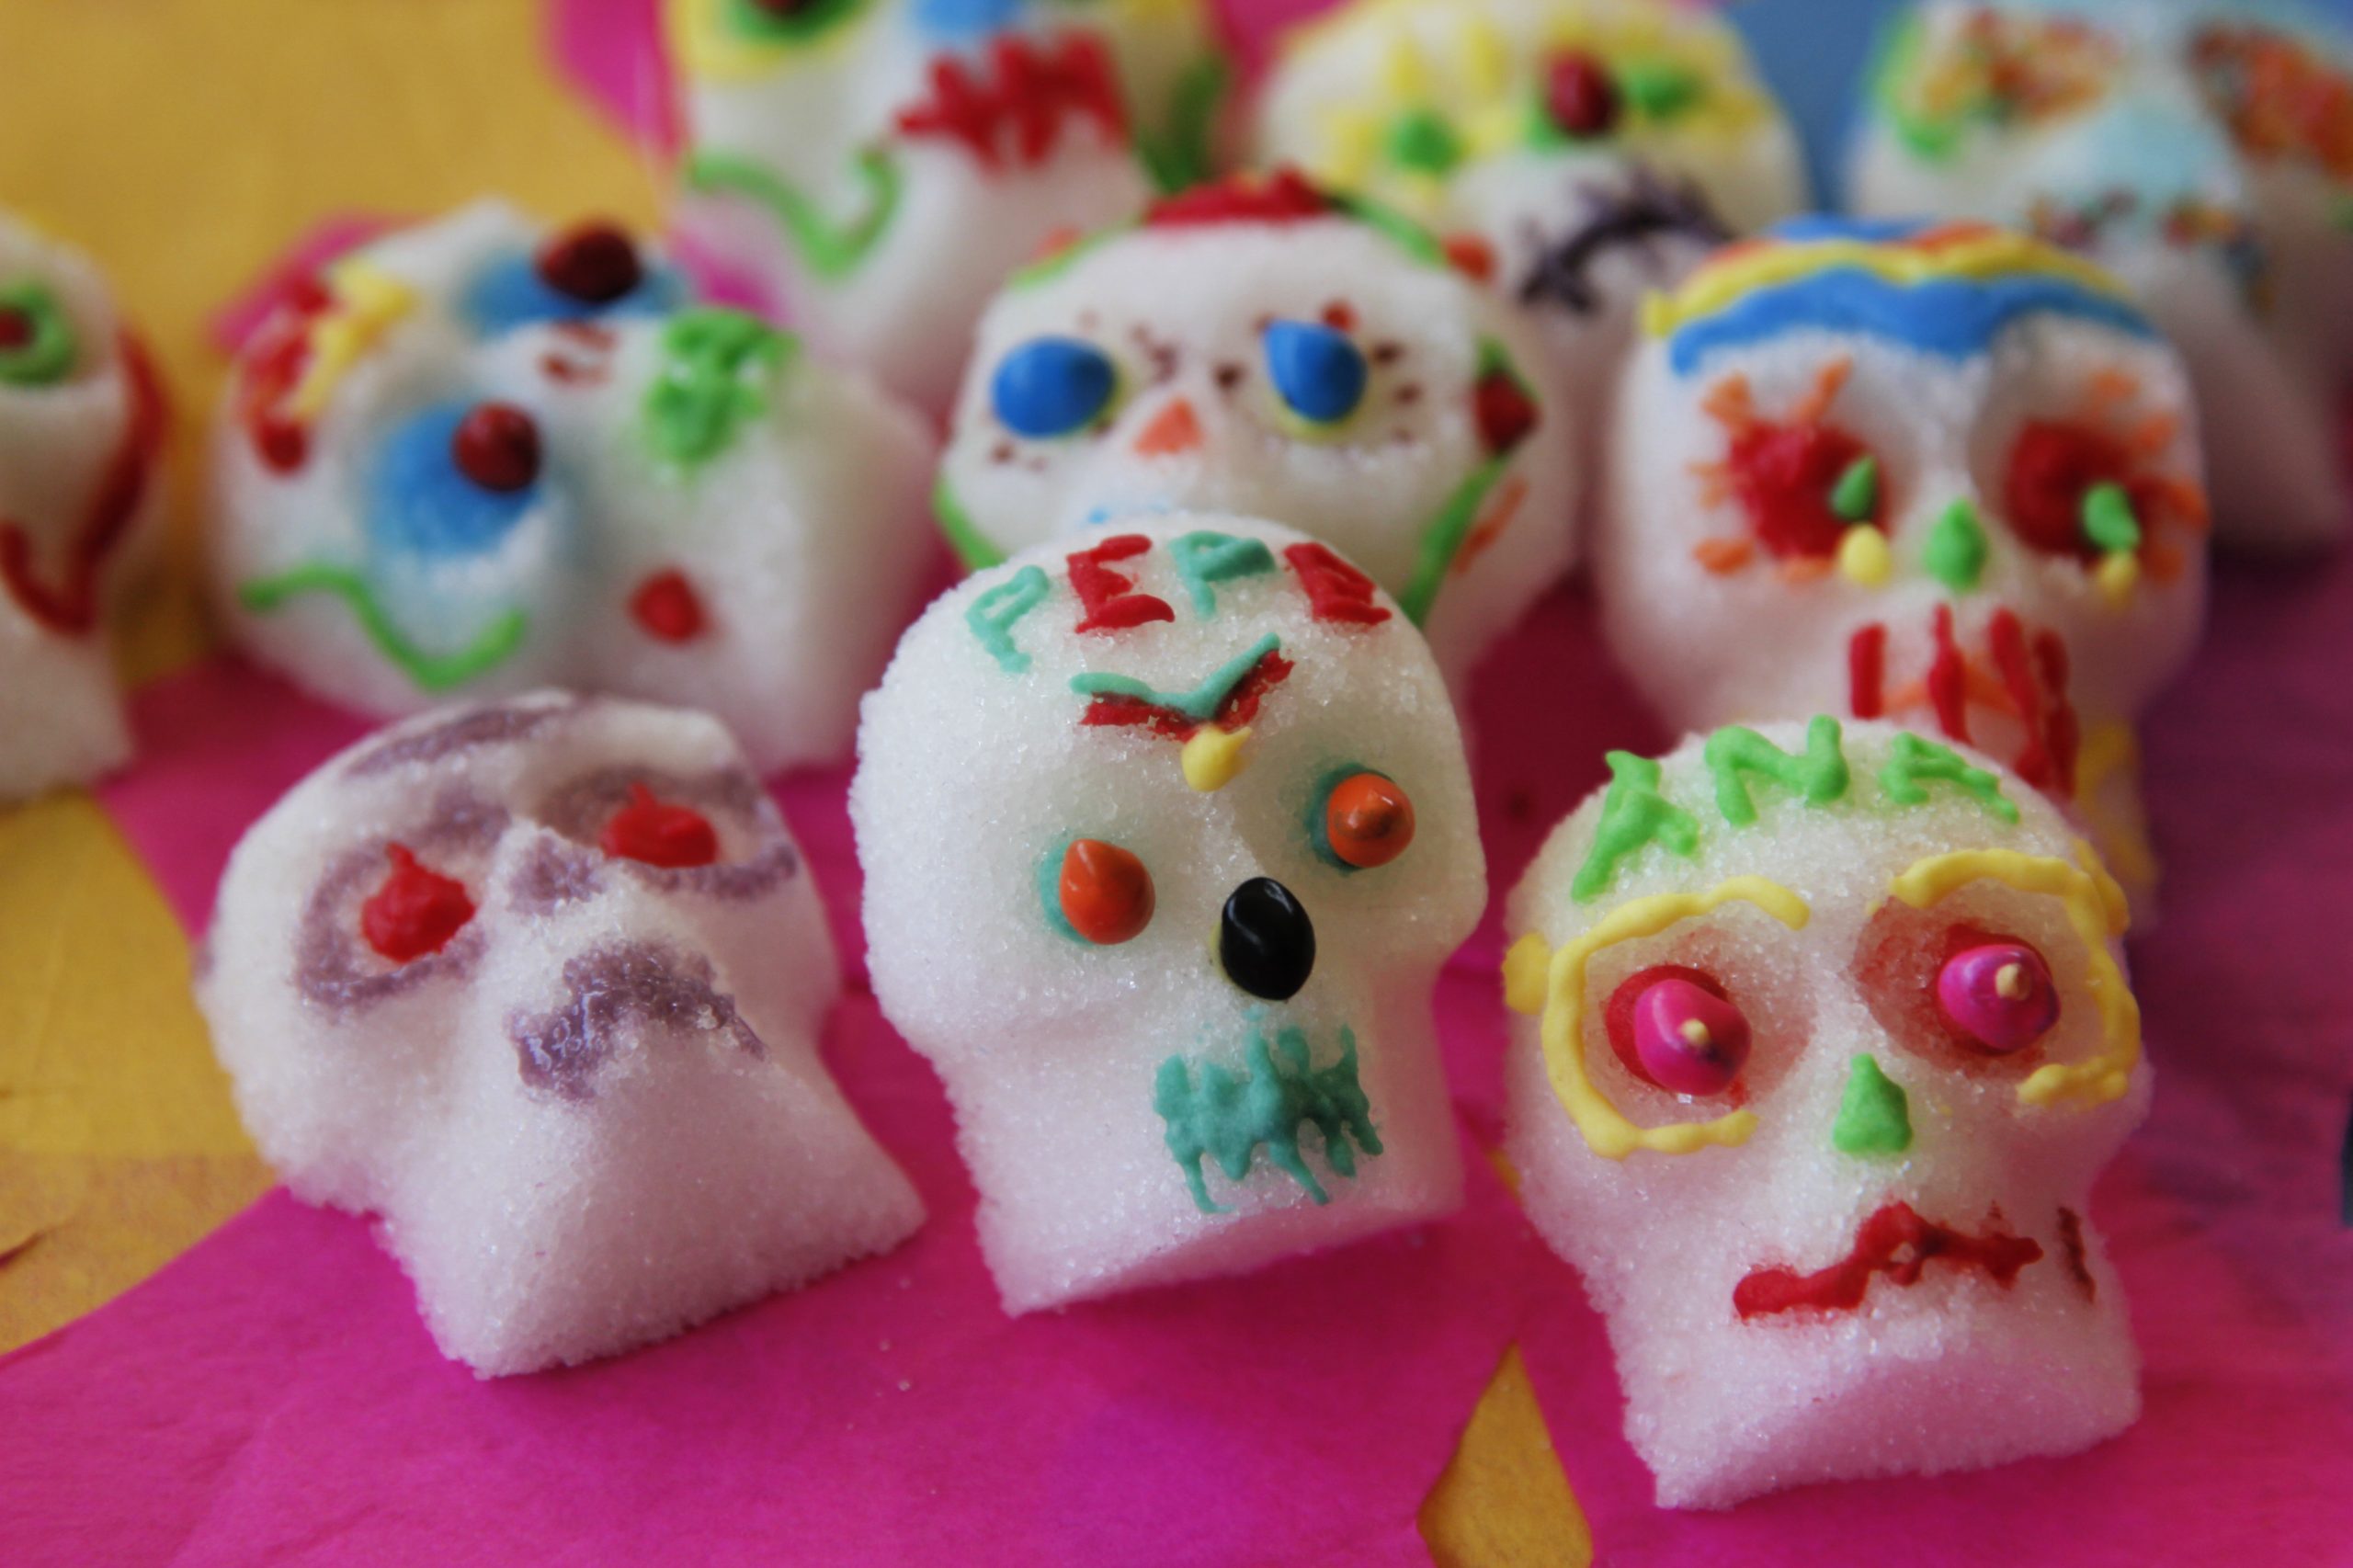
Open your icing tubes and start decorating. If you need inspiration, check out my photos or visit my sugar skulls board on Pinterest, or look for sugar skull stock photos.
You can use colors and designs as you wish. Every skull is expected to be unique. If you don’t have all the different colors you want, try mixing the ones you have. I made purple out of blue and red, for example.
Tip: If you want to add a layer of colors, one on top of the other, like the eyes, for example, be sure to allow enough time to dry between layers.
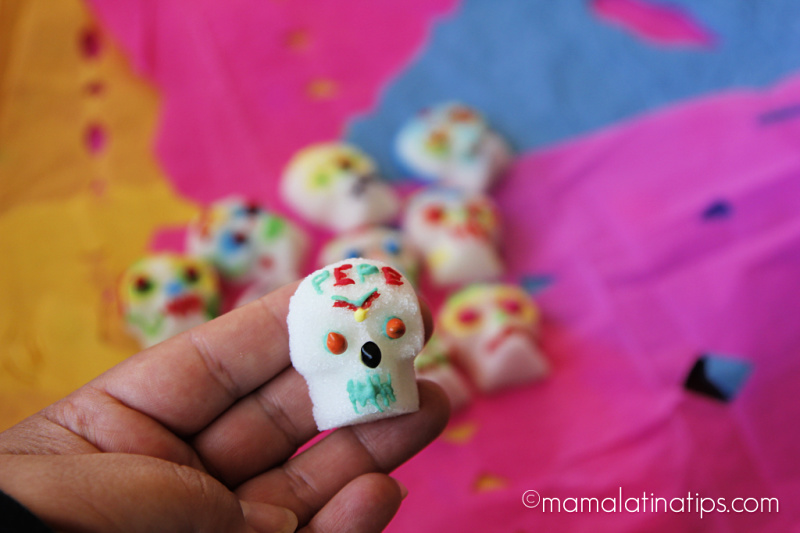
Don’t forget to add your loved one’s name on the forehead of the skull.
Let the skulls dry completely and they will be ready to be displayed or eaten.
Read more about our family’s and others’ Day of the Dead traditions. Check out My Son’s Day of the Dead photo essay, a Short Guide to the Meaning Behind a Traditional Day of the Dead Offering. If you are a Coco fan read, Fun Facts about the Skeletons of Coco, The Music of Coco, and My Review of Coco.
I hope you have a lovely Day of the Dead celebration.
Edible Sugar Skulls
Ingredients
- 1/2 cup sugar
- 1 teaspoon water
- 1/8 teaspoon extract of your preference like vanilla, lemon, almond, etc
- Writing icing tubes in several colors
- Other edible decoration items
Utensilios
- Medium bowl
- * Measuring cups
- * Measuring spoons
- 1 skulls mold
- 1 baking sheet
- Aluminum foil
- Toothpicks
Instructions
- Pre-heat oven to 200 degrees F (approx 95 degrees C). Cover the baking sheet with aluminum foil.
- In a bowl, combine sugar, water and extract of your choice. Using your fingers, combine everything really well until it feels like slightly wet sand.
- Take the mold and pack the sugar really well, pushing with your fingers until every space of the mold is filled up. Turn them over carefully on the aluminum foil-prepared baking sheet, and bake for 15 minutes.
- Take them out of the oven and let them cool down, approx 30 minutes.
- Open your icing tubes and start decorating. If you need inspiration, check out my photos or visit my sugar skulls board on Pinterest.
- You can use colors and designs as you wish, every skull is expected to be unique. If you don’t have all the colors, try mixing the ones you have, I made purple out of blue and red, for example.
- Let the skulls dry completely and they will be ready to be displayed or eaten.
Nutrition
Notes
Did you make this recipe?
Tag @mamalatina on Instagram and hashtag it #mamalatinatips

- Mexican White Rice (Arroz Blanco) Recipe - March 20, 2026
- Cream of Broccoli Soup - March 13, 2026
- Mexican Fideo Soup - February 27, 2026