Today, I want to share my orange-flavored Three Kings Bread recipe, also known as Rosca de Reyes in Spanish. We love this bread so much that we eat it for several days before and after Three Kings Day.
You’ll be surprised at how easy it is to make, even if it looks a little bit fancy. Try it!
Three Kings Day or Día de Reyes
Three Kings Day is one of our favorite holidays, and we prepare for it days ahead of time to have everything ready.
Our kids love the holiday, of course, because they get both holiday gifts and a generous slice of Three Kings Bread, too. In fact, it’s the traditional day children receive gifts in Mexico and other countries in Latin America and Europe, as well.
January 6th is the official Three Kings Day, but since we like the celebration so much, we actually eat the Rosca de Reyes on both the 5th and the 6th of January.
We never miss a chance to get together for “la rosca” with family, neighbors, folks from church, and schoolmates, and I hope you will start this beautiful tradition in your family if you haven’t already.
Once you try it dipped in Mexican Hot Chocolate, you’ll want to do it over and over again, too.
RELATED POST: The Symbolism of the Rosca de Reyes
What is the Rosca de Reyes?
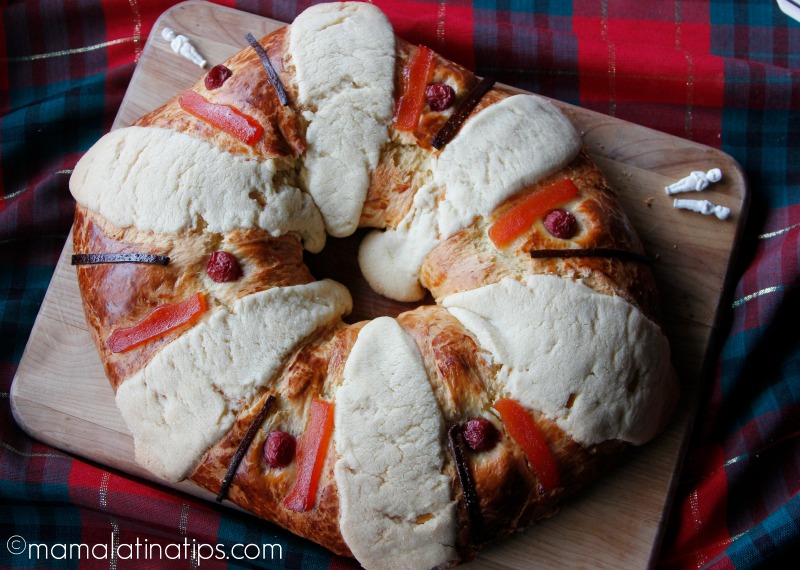
Rosca de Reyes is a traditional Mexican pastry served during the celebration of Epiphany, also known as Día de Reyes or Three Kings Day. This sweet bread is often adorned with candied fruits, nuts, and sugar. It has an oval shape, but you often see a round-shaped roscas, as well.
In some places like Italy or Spain, it is known as Roscón de Reyes.
Why does the Traditional Rosca de Reyes have Baby Figurines Inside?
It’s part of the tradition. The baby figurine symbolizes Baby Jesus, who received the first visit from the Three Wise Men and was hidden from King Herod. Learn more about the Symbolism of the Rosca de Reyes.
In Mexico, all who discover a baby figurine when slicing into the Rosca become “Godparents” of Baby Jesus. Because of this, they must organize a gathering for Día de la Candelaria (Candlemas Day) on February 2nd, and serve the traditional menu: tamales and atole.
Traditionally, these plastic figurines are in the shape of babies; however, some Mexican bakeries add other plastic dolls in the shape of the Three Kings, or the Holy Family, as well.
An important note: Some people bake the figurines inside the bread, but I prefer to insert them when the Rosca is already baked. It’s easy and fast. And please, when you slice the Rosca, be careful with children, as the figurines are a choking hazard.
Variations
Three Kings Bread can be made with different flavorings and a variety of toppings. Orange always tastes great on this bread, so that’s really the only reason I chose it. Other flavors include vanilla, lime, chocolate, or star anise.
Lately, a new trend has emerged, and you can find Rosca de Reyes “rellena” which means that it is filled with flavored cream cheese, whipped cream, or other sweet fillings.
Decorating the Rosca de Reyes
Decorating this bread is one of the most important things, and the options are limitless.
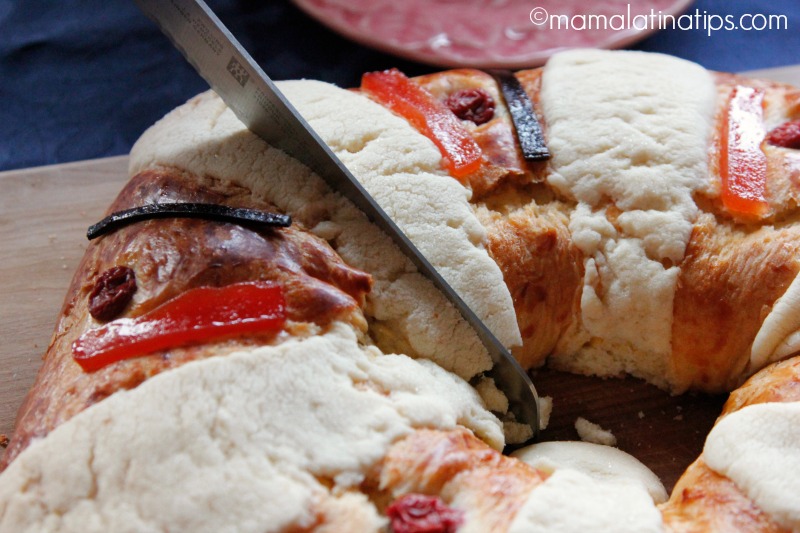
The traditional Rosca is decorated with cherries, dried fruit, and a sugar crust called “costrón.” Other toppings include nuts, candied orange peel, and chocolate.
One of our friends made a lovely quince paste, so I used it to decorate mine along with cherries and slices of dried fruit, as you can see in the pictures. Let’s make it!
RELATED POST: Three Kings Cupcakes with Candied Fruit
Orange Three Kings Bread Recipe (Rosca de Reyes)
I recommend reading the entire recipe once before getting started. It will help the process go smoothly. The process is simple, but like any other bread recipe, it requires patience and time.
Prep time 10 minutes – Start to finish 4.5 hours – Includes 2.5 resting time
Ingredients
For the Bread
- 1/4 cup warm water
- 1 (7 gr) active dry yeast packet
- 3/4 cup (150gr) + 1 teaspoon sugar
- 3 1/2 – 4 cups all purpose flour (450-500 gr) + a little more to dust working space
- 1/2 (3gr) teaspoon salt
- 10 tablespoons (150 gr or 2/3 cup) unsalted butter, softened
- 3 (130 ml) eggs
- 1/4 cup warm milk
- Zest of one orange
- 1-2 tablespoons vegetable oil of your choice to grease the bowl
For Decoration
- 1/2 cup (60gr) confectioner sugar
- 1/2 cup (50 gr) unsalted butter, softened
- 1/2 cup flour (60 gr), plus 1-2 tablespoons if needed
- 1 egg yolk
- 1 teaspoon milk
- Cherries, dried fruit, nuts, etc.
Utensils
Buy what you need with the help of these affiliate links.
- Mixer with a dough hook (optional)
- 1 large baking sheet
- Kitchen scale or measuring cups
- Measuring spoons
- Plastic film
- Pastry brush
- 1 cooling rack
- 1 bench scraper
- Plastic dolls, optional
An important note. This recipe is made without a mixer since not all houses have one. However, if you have a mixer with a dough hook, use it with confidence. It will save you time and effort.
Step by Step Instructions
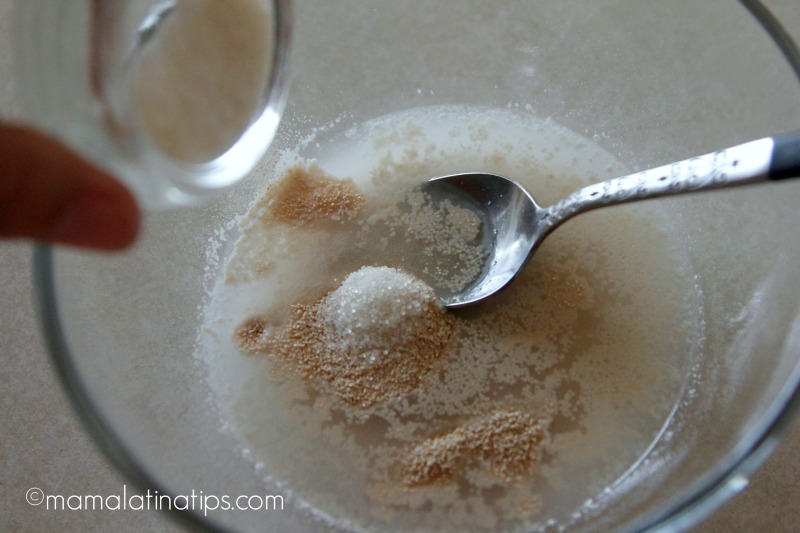
Activate the yeast
Mix yeast, water, and 1 teaspoon of sugar in a small bowl. Set aside in a warm place for 15 minutes or until it’s foamy.
Make the dough
On a flat surface, create a well in the flour, pour the salt around on the outside of the “well wall.” Pour the warm milk into the center and with your hands or a fork begin to mix.
If you are using the mixer, mix the flour and salt a little before adding the milk.
Tip for kneading bread: I learned this from my husband. Use just one hand to mix the ingredients, keep your other hand clean for adding more flour, or using the bread scrapper to integrate into the dough.
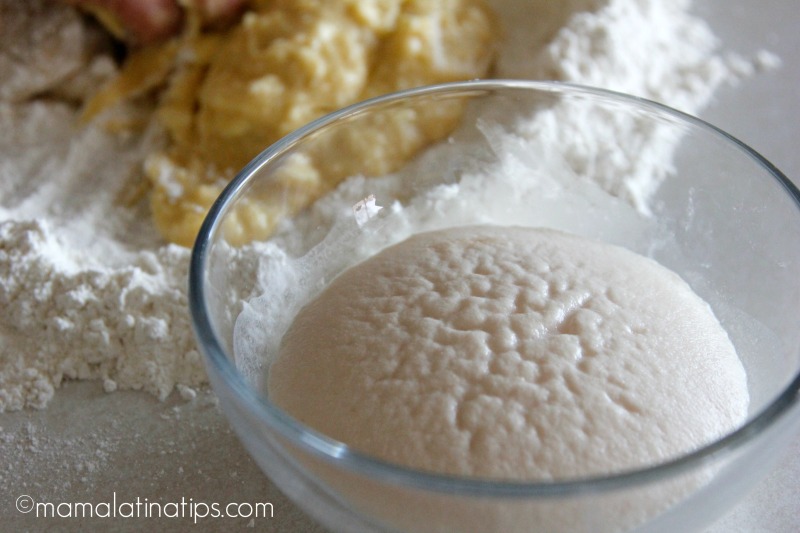
When the yeast mixture has doubled in volume add to the dough and keep kneading.
Add the eggs and continue kneading until all the ingredients are combined. You will have a lumpy dough, a bit coarse, and if you pull it, it breaks easily.
Integrate the sugar little by little, this will make the dough begin to loosen and moisten. When everything is integrated, you will have a sticky dough and will feel the grains of sugar.
It is time to start adding the butter. Integrate little by little. You will see that the dough changes, it will become smoother and extremely sticky in your hands and on the work surface.
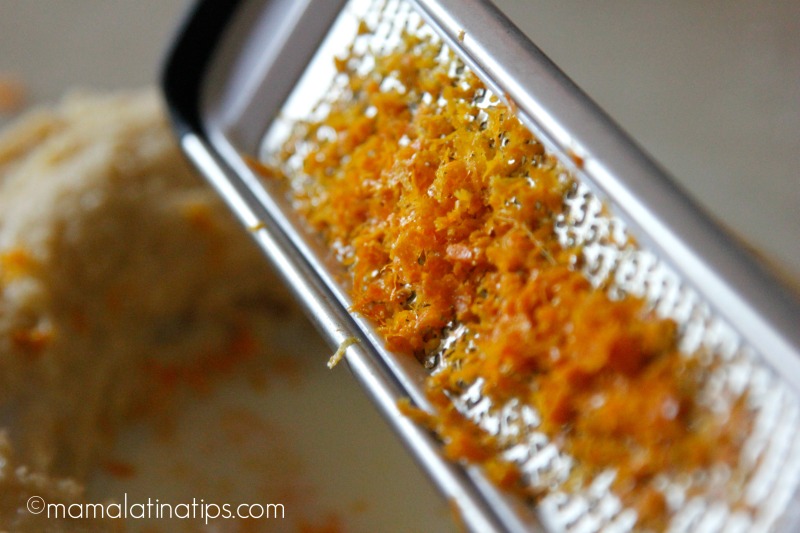
Add the orange zest and continue kneading and kneading. You will notice that the dough will change, this is due to the development of gluten.
The dough should be sticky and moist and will begin to get springy. This may take approximately 20-25 minutes. Put on your favorite music, grab your favorite drink, and enjoy the kneading process.
Keep kneading, depending on the weather and humidity you may need to add a little more flour. You can do it, but do it teaspoon by teaspoon, kneading in between.
Don’t add too much at once because this could dry out the dough. You will see how the dough is compacting and little by little it is detaching from your hands.
How do I know when the dough is ready?
When taking a ball of dough you can stretch it like forming a window and the dough does not break easily.
This will take about 20-25 minutes, be patient, sometimes it feels like the dough will never change, but it will. I ended up using 1/2 cup more flour for a total of 4 cups.
Bread reacts to the weather and altitude (I live at sea level) so it will probably be different for you.
Rest the dough
Oil a large bowl and place the dough inside. Oil the top of the dough as well and cover with plastic wrap or a kitchen towel.
Tip for resting the dough: I turn my oven on to the lowest temperature for about a minute, turn it off and check that the temperature is 100°F (37°) or less. In this warm environment I let my dough grow.
Set aside in a warm place, free of drafts, until the dough doubles in size. Depending on the weather this may take 1 1/2 to 2 hours. Be patient as the yeast works its magic. Let it rise, it will give the bread a deeper flavor.
Tip: Take a photo of the dough before resting and then another after the time the recipe says it should take. Compare them, this will help you see if it has doubled in size.
While it is resting, prepare the decorations. Mix sugar, butter, and flour to form a paste. Cover with plastic wrap and put it in the fridge. Cut dried fruit in strips, dry out cherries with a paper towel.
Make the rosca
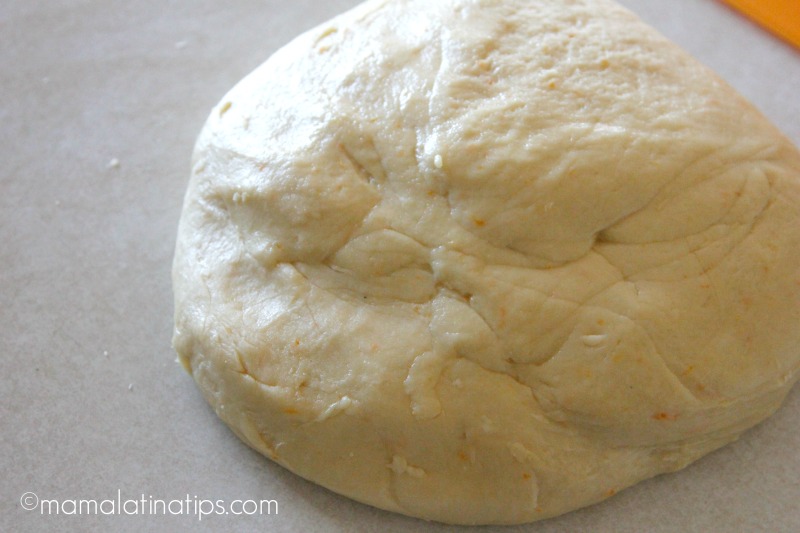
Once the dough has doubled in size, place it on a floured surface and gently knead it for a few seconds to remove the gas that has formed in the fermentation.
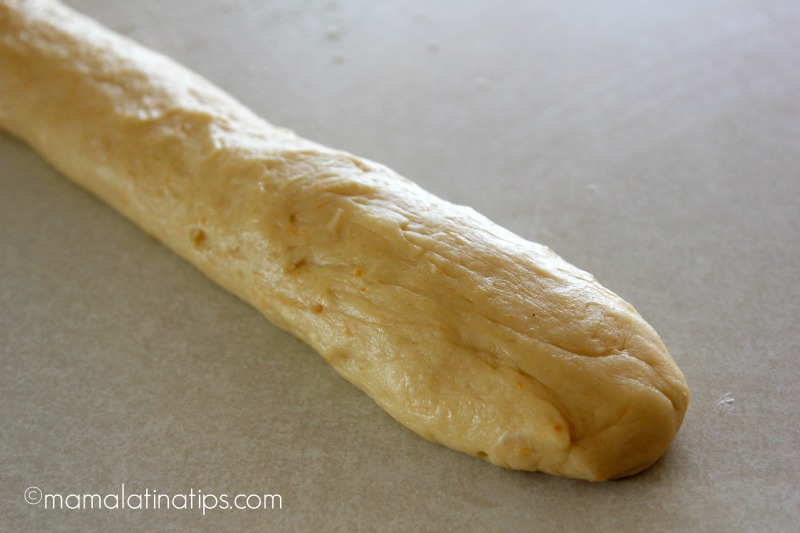
With a rolling pin, form a long rectangle, making sure it is the same thickness. Then take one of the longer edges and start rolling the dough, you will end up with a long strip.
Grease or place parchment paper on a large baking sheet and carefully place the strip of dough on top. Take one of the ends of the dough and form a “hole,” take the other end and push the dough until both ends are “glued” together to form the wreath.
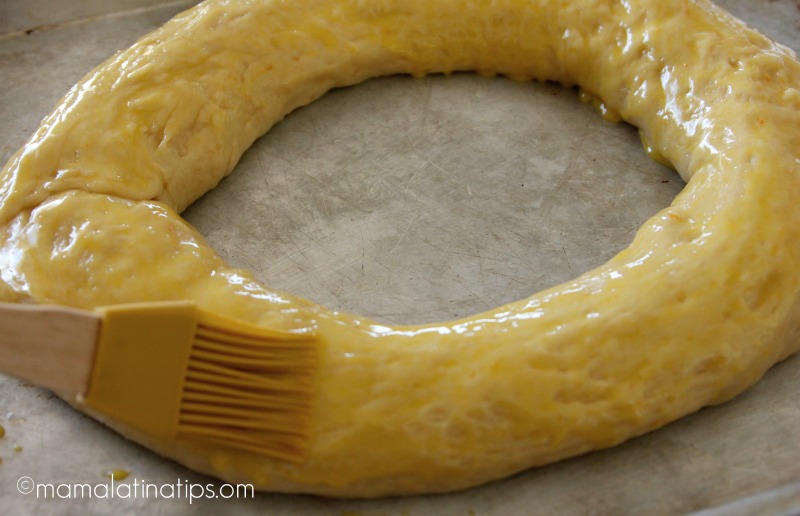
Brush the mixture of egg yolk and milk on the dough to give it a nice egg wash. This will give it a nice, shiny, brown finish during baking.
Take the sugar-flour-butter mixture and divide it into 6 pieces. Take one of the pieces (called a “costrón” in Spanish), make a flat oval and place it on top of the bread starting on top of the union of the dough to “hide it,” repeat with the other 5 pieces.
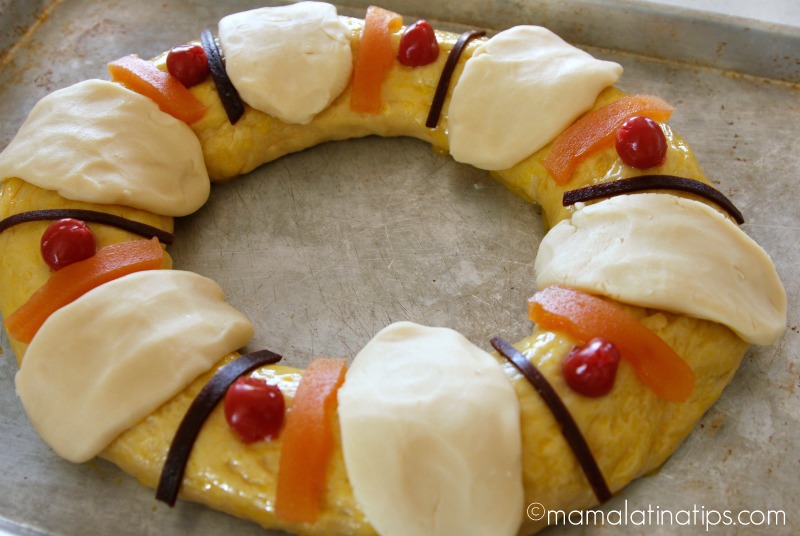
Sprinkle sugar on top of the “costrones“, and decorate the bread with the cherries and candied fruit.
Cover with plastic and let it rest for 45 minutes in a warm place and let it rise again. See the picture below.

And Bake!
Twenty minutes before the end of the 45 minutes of resting, pre-heat your oven to 325 degrees F (160 degrees C) and bake for 30-45 minutes or until cooked through and golden brown.
Transfer to a wire rack to cool down.
Once the bread is completely cooled, carefully turn it over and introduce the plastic dolls randomly, if you choose. (Do this at your own risk, of course), or insert them through the rack if that is easier.
To learn more about the dolls and the meaning behind the bread, please see my post on the symbolism of the rosca de reyes.
Serve to your family and friends with Mexican hot chocolate, atole, or Mexican ponche.
¡Felíz Día de Reyes!
More Mexican Bread Ideas
Do you like Mexican bread and pan dulce? Try at least one of these authentic pan dulce ideas.
Print the Three Kings Bread Recipe
Orange Three Kings Bread Recipe (Rosca de Reyes)
Ingredients
For the Bread
- 1 (7 gm) active dry yeast packet
- 1/4 cup warm water
- 3/4 cup ssugar + 1 teaspoon
- 3 1/2 – 4 cups all purpose flour + a little more to dust working space
- 1/2 teaspoon salt
- 10 tablespoons unsalted butter softened
- 3 eggs
- 1/4 cup warm milk
- Zest of one orange
- 1-2 tablespoons olive oil or canola to oil bowl
For Decoration
- 1/2 cup confectioner sugar
- 1/2 cup unsalted butter softened
- 1/2 cup flour plus 1-2 tablespoons if needed
- 1 egg yolk
- 1 teaspoon milk
- Cherries, dried fruit, nuts, etc.
Utensilios
- 1 big baking sheet
- Food grade plastic wrap
- A kitchen brush
- 1 cooling rack
- 1 bread scraper
- Plastic dolls for Rosca de Reyes (optional)
Instructions
Step by Step Instructions
- Mix yeast, water, and 1 teaspoon of sugar in a small bowl. Set aside in a warm place for 15 minutes or until it's foamy.
Make the dough
- On a flat surface, create a well in the flour, pour the salt around on the outside of the "well wall." Pour the warm milk into the center and with your hands or a fork begin to mix.
- If you are using the mixer, mix the flour and salt a little before adding the milk.
- When the yeast mixture has doubled in volume add to the dough and keep kneading.
- Add the eggs and continue kneading until all the ingredients are combined. You will have a lumpy dough, a bit coarse, and if you pull it, it breaks easily. Integrate the sugar little by little, this will make the dough begin to loosen and moisten. When everything is integrated, you will have a sticky dough and will feel the grains of sugar.
- It is time to start adding the butter. Integrate little by little. You will see that the dough changes, it will become smoother and extremely sticky in your hands and on the work surface. Add the orange zest and continue kneading. You will notice that the dough will change, this is due to the development of gluten. The dough should be sticky and moist and will begin to get springy. This may take approximately 20-25 minutes. Put on your favorite music, grab your favorite drink, and enjoy the kneading process.
- Keep kneading, depending on the weather and humidity you may need to add a little more flour. You can do it, but do it teaspoon by teaspoon, kneading in between. Don’t add too much at once because this could dry out the dough. You will see how the dough is compacting and little by little it is detaching from your hands.
- You'll know the dough is ready when taking a ball of dough you can stretch it like forming a window and the dough does not break easily. This will take about 20-25 minutes, be patient, sometimes it feels like the dough will never change, but it will. I ended up using 1/2 cup more flour for a total of 4 cups. Bread reacts to the weather and altitude (I live at sea level), so it will probably be different for you.
Rest the dough
- Oil a large bowl and place the dough inside. Oil the top of the dough as well and cover with plastic wrap or a kitchen towel.
- Set aside in a warm place free of drafts, until dough doubles in size, depending on the weather this may take 1 1/2 to 2 hours. Be patient as the yeast works its magic, let it rise, it will bring a deeper flavor.
- While it is resting, prepare the decorations. Mix sugar, butter, and flour to form a paste. Cover with plastic wrap and put it in the fridge. Cut dried fruit in strips, dry out cherries with a paper towel.
Make the rosca
- Once the dough has doubled in size, place it on a floured surface and gently knead it for a few seconds to remove the gas that has formed in the fermentation. With a rolling pin, form a long rectangle, making sure it is the same thickness. Then take one of the longer edges and start rolling the dough, you will end up with a long strip.
- Grease or place parchment paper on a large baking sheet and carefully place the strip of dough on top. Take one of the ends of the dough and form a “hole,” take the other end and push the dough until both ends are “glued” together to form the wreath.
- Push the dough until both ends are “glued” together.
- Brush the mixture of egg yolk and milk on the dough to give it a nice egg wash. This will give it a nice, shiny, brown finish during baking.
- Take the sugar-flour-butter mix and divide it into 6 pieces. Take one of the pieces (called a “costrón” in Spanish), make a flat oval and place it on top of the bread starting on top of the union of the dough to “hide it,” repeat with the other 5 pieces.
- Sprinkle sugar on top of the "costrones", and decorate the bread with the cherries and candied fruit. Cover with plastic and let it rest for 45 minutes in a warm place and let it rise again. See the picture below.
And Bake!
- Twenty minutes before the end of the 45 minutes of resting, pre-heat your oven to 325 degrees F (160 degrees C) and bake for 30-45 minutes or until cooked through and golden brown.
- Transfer to a wire rack to cool down.
- Once the bread is completely cooled, carefully turn it over and introduce the plastic dolls randomly, if you choose. (Do this at your own risk, of course) or insert them through the rack if that is easier.
- Serve to your family and friends with Mexican hot chocolate, atole, or Mexican ponche.
Notes
Did you make this recipe?
Tag @mamalatina on Instagram and hashtag it #mamalatinatips

- Mexican White Rice (Arroz Blanco) Recipe - March 20, 2026
- Cream of Broccoli Soup - March 13, 2026
- Mexican Fideo Soup - February 27, 2026