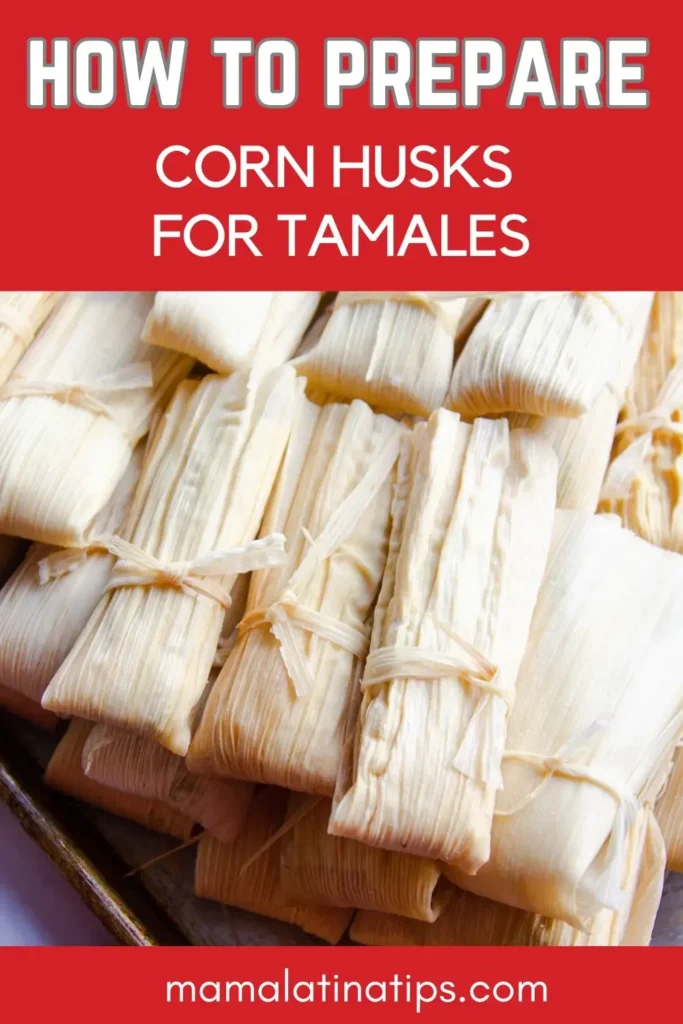
Knowing how to prepare corn husks for tamales correctly is the first step to achieving perfect, juicy, and well-wrapped tamales
In this complete guide, I’ll teach you the exact process for soaking, cleaning, and drying the husks, along with precise timing and the most common mistakes you need to avoid. Let’s get started.
Why Properly Prepared Husks Make all the Difference

When I moved to the United States over 20 years ago, I desperately missed the tamales from Mexico. Back home, we could buy them on every corner.
But here, the tamales I found had too much masa, barely any filling, and were dry. That’s when I decided to learn how to make them myself.
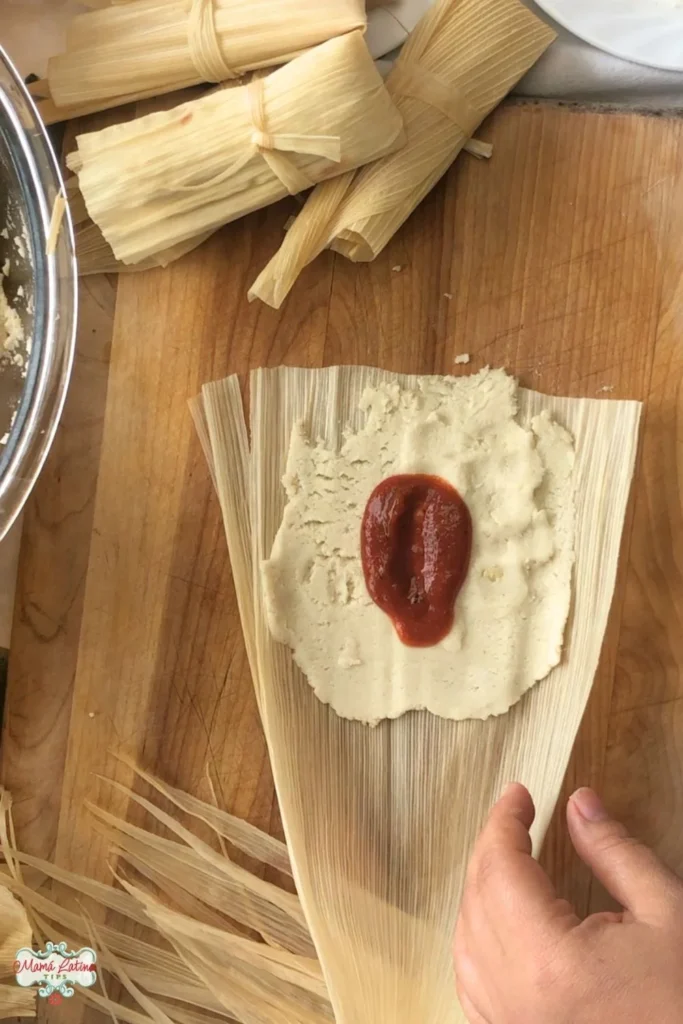
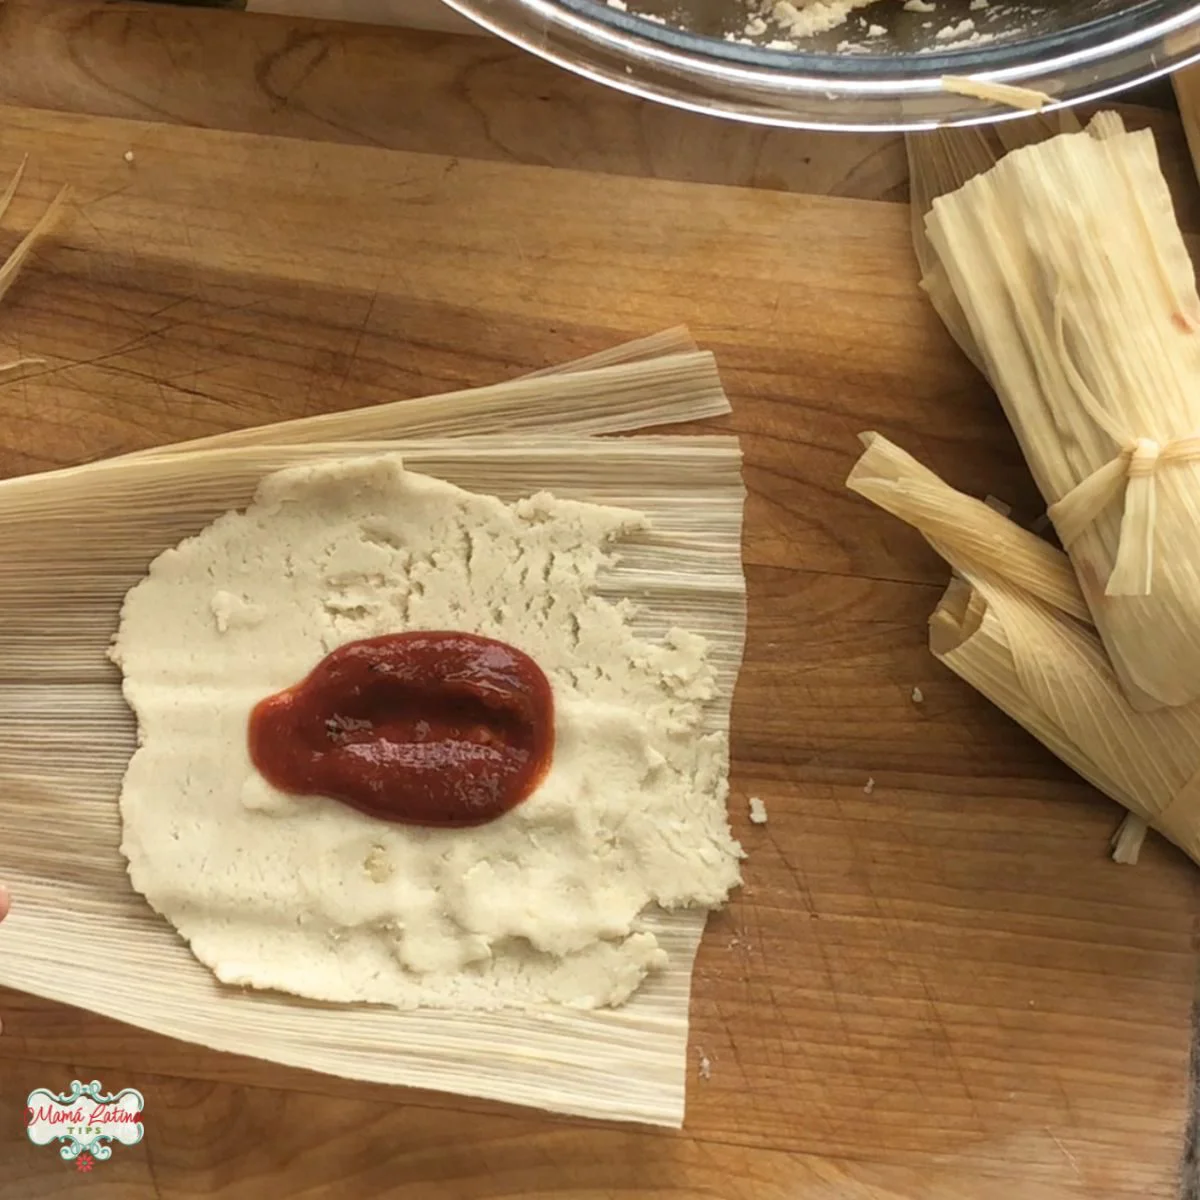
The first thing I discovered was this: corn husks are like the litle dress for your tamal, if they’re too dry, they crack when folding; if they’re too wet, the masa slides off.
When you prepare them correctly, they become flexible, clean, and ready to embrace your favorite filling without any drama.
Plus, this is the perfect time to check that they don’t have mold spots or aren’t too damaged. Kitchen safety always come first, my dear cook.

Silvia’s Tips
- Only soak what you’re going to use that day (plus a few more just in case).
- If the husks smell weird or musty, better buy another package.
- Be patient with the drying. I know you want to start right away, but properly dried husks will make your work easier.
- Save the torn husks, they’re perfect for lining the bottom of the steamer or tamalera.
Agua Fresca Goes Well with Tamales – A Freebie for You
Get our Agua Fresca Flavor Chart with 12 combos to create new refreshing flavors.

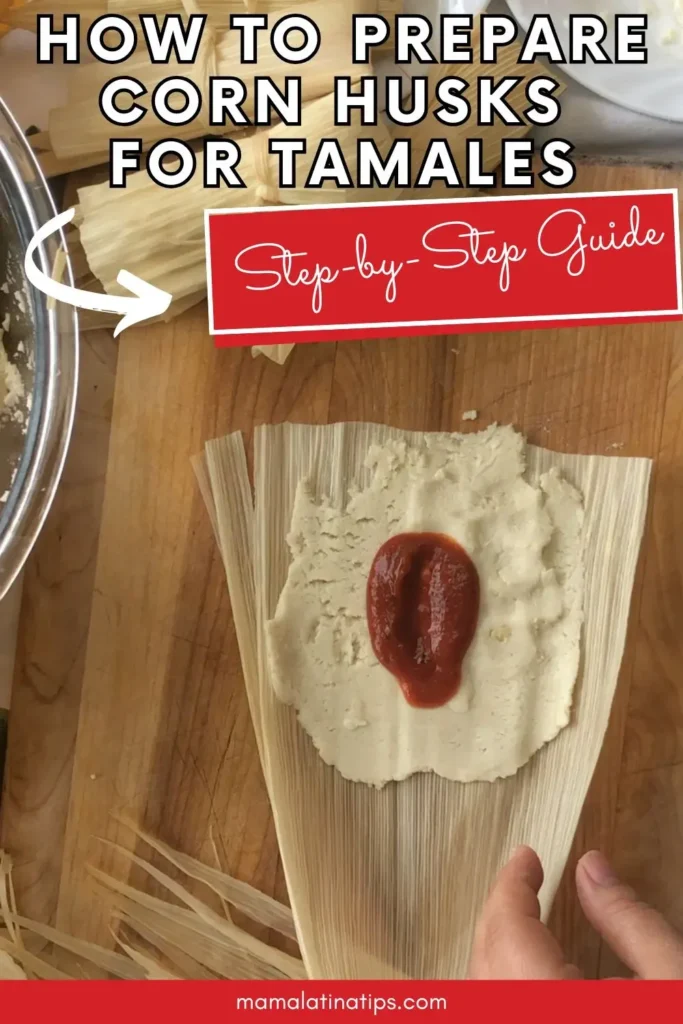
How to Prepare Corn Husks for Tamales Step by Step
Equipment
- A large pot (your tamalera pot works perfectly here).
- A heavy pot or a molcajete for weight.
- Clean and absorbent kitchen towels.
- Lots of love and a little patience.
Materials
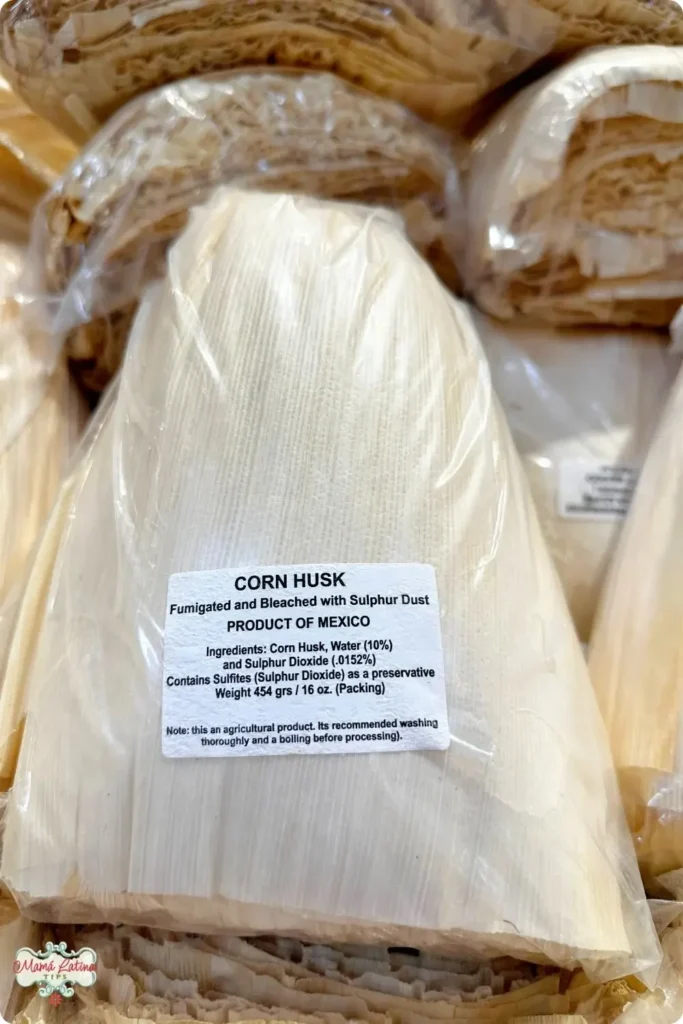
- A package of fried corn husks. Learn how to prepare banana leaves for tamales, if you prefer using those.
- Hot water.
Instructions
Get to Know your Husks
- Remove the husks from the package carefully, without pulling them apart. Touch them to feel how stiff they are.
- The husks tell you what they need. If they're very hard, they'll need more soaking time; if they already feel somewhat flexible, they'll be ready with less time.
Separate and Check Each One
- While separating them, take the opportunity to:– Remove any corn silk stuck to them-Seet aside any that are too torn or stained– Count how many you need (don't soak the whole package if you're not using them all). Just remember to soak a little bit extra that you need, just in case.
The Hot Water Bath
- Place the husks in a large container and cover them with the hottest water possible. Hot water is the secreat to softening them quickly and evenly.
- Since the husks float (they're stubborn, as my son says), place something heavy on top. I use a heavy pot filled with water, you can also use a molcajete).
The Perfect Soaking Time
- There's no rush here:-Minimum 30 minutes for normal husks-Up to 1 hour if they're very dried out.-Just 20 minutes if you bought them fresh and flexible.
How do you Know Corn Husks are Ready?
- When you take a husk and gely fold it. If it bends without breaking and feels like thick fabric, it's ready!
Drain and Dry with Love
- Remove the husks from the water and gently squeeze them. Place them in a colander to continue draining.
- If you have time, leave them there for a bit. If you're ready to start making tamales, dry them one by one with kitchen towels.
- This step is important, overly wet husks make the masa slide and won't stick properly.
6. Organize by Size
- While drying them, separate into three piles: Large for main tamales, medium for patching if any tear, or for making smaller tamales, small, save these for making strips to tie the tamales.
Notes
A Personal Note
Preparing the husks is like warming up before dancing. It’s that quiet moment before the whole family arrives to help with the tamalada.
I take advantage of this little time to put on my favorite music, have a cup of coffee, and give thanks for being able to continue sharing these traditions with my family here in California.
When my kids were little, they loved helping me dry the husks. Now they’re grown, they still come to the kitchen when they smell I’m preparing tamales.
Those are the moments worth their weight in gold.
More Tamales Content: Recipes and How To’s
Once your huks are ready, you can start with the masa and filling. Here are several options for you.
- Learn how to make masa for tamales
- How to prepare banana leaves for tamales
- Authentic Mexican chicken tamales
- Green chicken tamales recipe without lard
- Chile verde pork tamales recipe
- Apple and cinnamon tamales recipe
- More than 50 ideas to serve with tamales
And remember, making tamales isn’t just about cooking, it’s about creating memories. Every tamal you wrap carries a little piece of love for those who will enjoy it.
Save on Pinterest
If you have a Pinterest account, add this recipe to one of your boards so you can find it easier and whenever you want.
Plus when you do this, you’ll help me share it with more people around the world who want to learn Mexican cooking techniques. Thank you.
You can get more ideas in my Tamales & Atoles Recipe Pinterest Board.
Video

- Mexican White Rice (Arroz Blanco) Recipe - March 20, 2026
- Cream of Broccoli Soup - March 13, 2026
- Mexican Fideo Soup - February 27, 2026