This is part of a sponsored collaboration with Pampers.
Christmas has always been my favorite celebration and time of year. I have wonderful childhood memories of getting together with all my family in my grandma's house. I especially remember our talks and the music. Those were happy times.
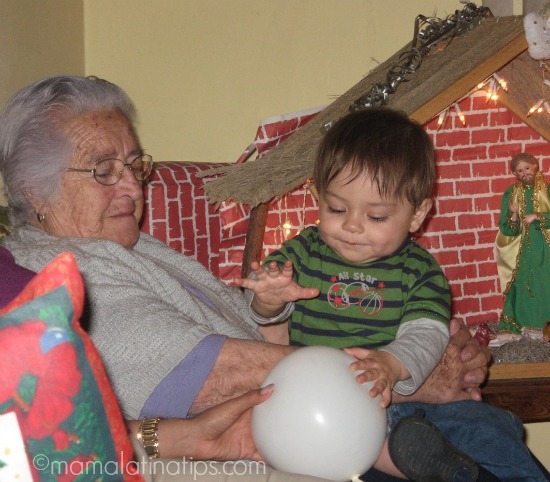
I also have wonderful Christmas memories from when my sons were babies, like my younger boy's first Christmas with his great-grandma.
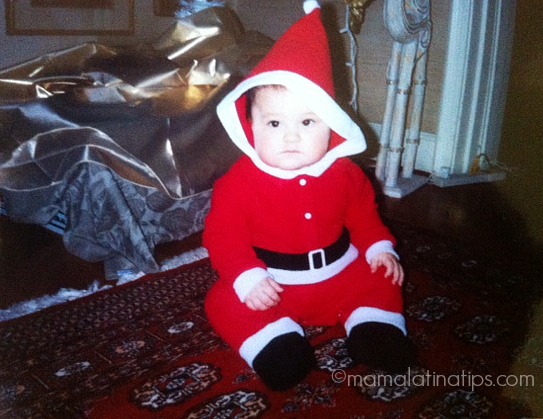
And the first Christmas when my older boy wore a Santa Claus suit.
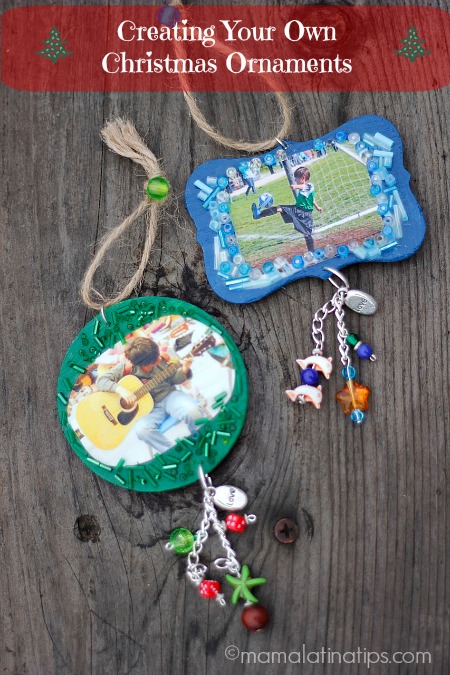
One U.S. tradition I really appreciate is the giving and receiving of Christmas tree ornaments to commemorate important moments from the year. And I love the idea of creating something personal and unique on my own each year to do the same.
I think it's a nice way to preserve memories and then remember them when we decorate the tree each year.
Thinking about all that, I decided to browse the thousands of photos I have on my computer from this year alone (what can I say, I'm a blogger), and choose just two photos of important moments from my sons' lives to create a Christmas ornament for each of them.
Looking at all those photos got me to thinking I should have started this tradition years ago.
Because of that, I want to suggest, if you have babies, that you start a tradition right this moment to help you remember the first tooth, the first steps, the first smile, the first trip to the beach.
You love your baby and your baby experiences your love in so many different ways, and those precious moments you share with your little one makes every day special and worth remembering.
To get started on the right foot with this lovely new tradition of creating my own ornaments, I opened up my friend Kathy Murillo's book, The Crafty Chica Collection. Kathy's a great artist and I love her colorful, creative projects.
Leafing through her book I found two projects (pages 53 and 120) that, together, gave me the model for making my personalized Christmas ornaments.
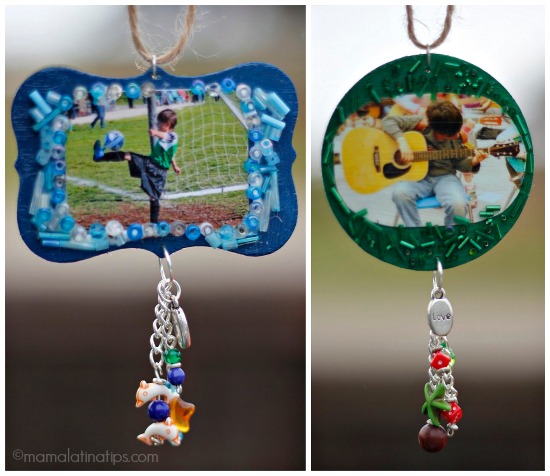
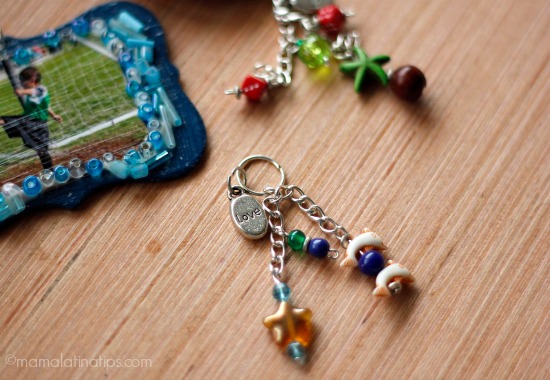
I made these Christmas ornaments in my boys' favorite colors, and used small charms to represent things they like. For example, my older boy likes board games a lot and he loves to go to the beach, so I attached a pair of dice and two starfish to his ornament.
The photo at the center of his ornament represents something he did for the first time this year, guitar classes.
Now here is how to make them step by step.
Materials
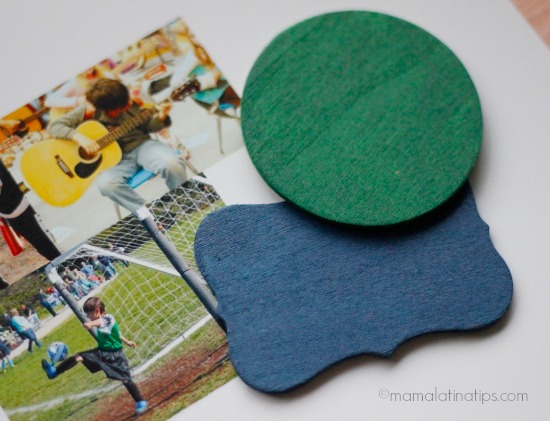
- 2 wooden shapes of your choice, just make sure they are thin and light so that you can hang them easily on the Christmas tree.
- Charms to represent the memories you want to preserve.
- Photos of your kids or the person you want to give the ornament to.
- Paint
- Paint brushes
- Beads and/or crystals of your kids' favorite colors.
- Silver chain
- 4 Jump rings (1 cm) 3/4″
- Head pins and eye pins (these are not straight pins, but they have a flat head or an “eye” on one end that keep the beads from falling off when you thread them on.)
- White glue.
- Mod Podge
- Twine
- Also, you need a pair of round-nosed pliers and a pair of flat-nosed pliers.
Everything, except for the photos, of course, I found at Michael's (It's a crafter's paradise). I found, in many cases, I needed to buy a complete bag or string, for example, with the charms and the jump rings.
But I have to tell you the prices are very reasonable and it allows you to make other things, too, like perhaps a piece of jewelry for yourself! (Don't miss the giveaway at the end of this post)

The Process
1. Paint your wooden shapes the color you like and let them dry.
2. Cut out your photos to fit the size of your wooden pieces.
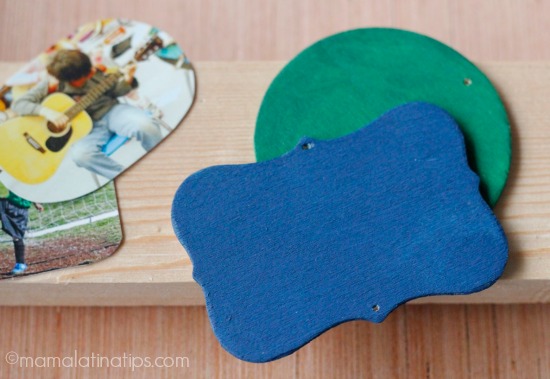
3. With the help of a hammer and a nail make small holes in your wooden pieces, one at the top, and one at the bottom of each piece as shown in the photo below.
Tip: place a thicker piece of wood behind your shapes in order to absorb the point of your nail.
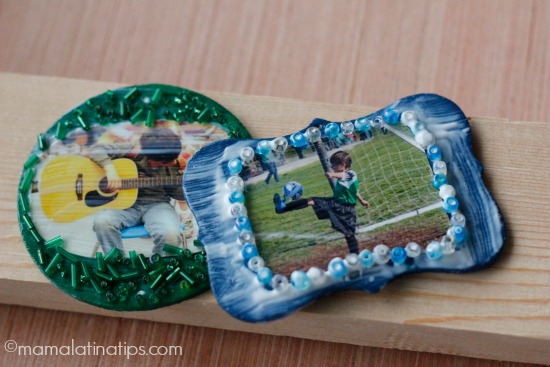
4. Glue a photo in the center of you wooden shape. Let it dry. Later, take a brush and spread mod podge over the entire piece of wood and the photo. Carefully, but quickly, sprinkle or place colored beads to form a frame around your photo.
The mod podge will look white, but don't worry, when it dries it will become transparent.
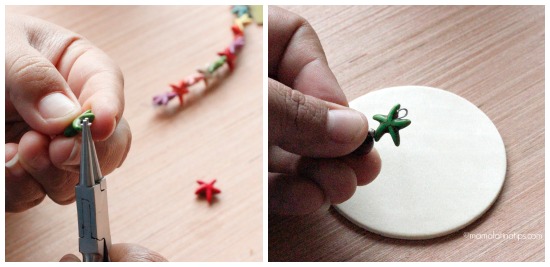
5. Meanwhile, search for charms you want to use for each ornament, along with other beads and crystals that you think will complement your colors and design.
Thread a charm and some beads onto a head pin or an eye pin, then, using your round-nosed pliers, make an eye at the end of the pin. Repeat until you have the number you want.
6. Take your silver chain and decide how far you want your charms to hang down from your ornament.
Then, make your chain twice that length (later you will be folding it in half and attaching it at the middle) and, using your pliers, open the link of the chain at that length to separate it from the rest of the chain, then close the link again.
7. Take one of the jump rings, open it with the help of your pliers, and attach the middle link of your length of chain to it, then close it.
One by one connect your head pins or eye pins, with your charms already attached, to links of your chain by opening the eyes of the pins with your pliers and then closing them around the links. It looks like this:
8. Open the jump ring and attach it to the small hole at the bottom of your wooden ornament, then close it.
9. Take a piece of twine and thread it through the hole at the top of your ornament, then tie it to form a circle.
That's it.
What do you think? Are you ready to get started on your Christmas ornaments for your babies? They make for a lovely gifts, too, if you have new babies in the family.

- Easy Mexican Flan Recipe (Crème Caramel) - February 26, 2024
- Easy Homemade Flour Tortilla Recipe - January 25, 2024
- 50+ Mexican Side Dishes and Drinks to Serve with Tamales - December 8, 2023